A guide to installing a short shifter
Why Install a Short Shifter?
If you’re serious about driving feel—whether on the road or at the track—a short shifter isn’t just a bolt-on accessory. It’s a precision upgrade that changes your connection to the car. By reducing the throw between gears, a short shifter can deliver quicker, cleaner shifts and a more engaging driving experience.
But before diving into the install, let’s be clear: not all short shifters are created equal. Some reduce throw by 30%, others more aggressively at 50%. Some come with reinforced pivot bushings and adjustable knobs, others are bare bones. Choose your kit depending on your goals: are you building a track-dedicated car or just want a crisper shift for back-road blasts?
Tools You’ll Need
This isn’t brain surgery, but don’t expect it to be a two-minute job either. Here’s a basic toolkit checklist before you start tearing out your center console:
- Jack and jack stands (or car lift)
- Socket set (preferably metric)
- Open-ended wrenches
- Trim removal tools (plastic to avoid damage)
- Thread locker (medium strength)
- Lithium-based grease
- Torch or heat gun (optional, if bushings are stubborn)
Top tip: Every chassis is different—some require access from underneath, others can be done fully from the cabin. Always consult your vehicle-specific workshop manual or the instructions with your kit.
Prepping the Workspace
First things first: disconnect the battery. You’re going to be working near electronics and possibly sensors, and it’s not worth the risk of tripping a code or shorting anything. Next, raise the car if necessary. Certain gear linkages sit below the transmission tunnel and will require underbody access.
Clear out the interior workspace. Remove shift knob, boot, and center trim panels using your plastic trim tools to avoid scratching anything. Depending on your make/model, you might also need to pull out the armrest or cupholder assembly.
Removing the Stock Shifter
Once you’ve got clear access to the shifter mechanism, take stock of what you’re dealing with—it varies quite a bit between, say, an E46 BMW and a 2016 Civic. Most OEM assemblies involve a centering spring, selector rod, and pivot mechanism held in place by pins or circlips.
Document as you remove. Take photos of spring orientations and rod positions. Trust me, future-you will thank you when it’s time to reassemble.
Remove the fastening bolts or circlips holding the shifter in place. Gently pry it free, making sure not to damage any bushings or cable guides unless you’re replacing those as well (recommended if accessible).
Installing the Short Shifter
Now for the fun part. Start by comparing the OEM shifter next to the short shifter. You’ll usually see a shorter shaft above the pivot point (hence, “short” shifter) and possibly a longer lower section, which amplifies the gear selector movement. It’s simple lever math: shorter throw = less driver input = confidence under load.
Apply a thin layer of lithium grease to all pivot points and bushings. If your kit includes a new selector mount or bushings, install those now—these often make just as much difference as the reduced throw itself by removing slop in the linkage.
Drop the new shifter into place and secure it with new clips or bolts as provided. Use thread locker if the kit specifies it. Reattach the selector rod, centering spring, and any return clips. If you’re working with a cable-based shifter (common in modern FWD cars), ensure cables are routed without kinks or excessive tension.
Adjust and Test
Before buttoning everything up, take time adjusting the shifter—if your kit allows for height or throw adjustment, now’s the moment. Some kits also let you tweak side-to-side resistance or centering force. Don’t be tempted to slam everything into place without getting this right.
With the key in the « on » position (but engine off), run through all gears. Listen and feel for resistance, popping, or misalignment. If anything feels off, don’t force it—retrace your steps. If it engages cleanly, start the engine. Clutch in, test all gears again under idle. Still good? Great. Now test reverse—it often needs a separate engagement mechanism like a pull-ring or floor detent.
Reassembly and Final Touches
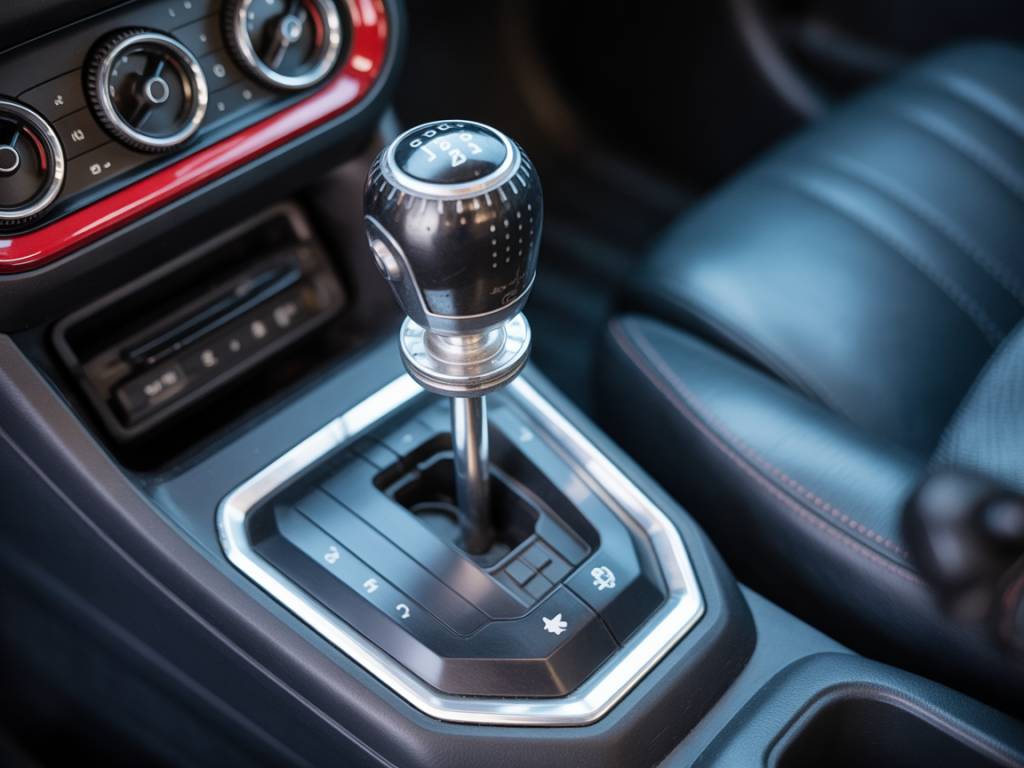
Once satisfied, reassemble your interior in reverse order. Now’s the time to install a weighted shift knob or metal boot ring if you’re going for the full performance touch. I personally like pairing a short shifter with a Delrin or billet knob—there’s something oddly satisfying about the mechanical feedback it gives.
Important: After install, keep an eye for any unusual drivetrain noise or vibration. A properly installed short shifter should feel tighter, not buzzier. If you hear excessive rattle or feel increased NVH (Noise, Vibration, Harshness), recheck torque specs and ensure all bushings are seated properly.
Real-World Driving Impressions
So, what’s it like once installed? For me, the most noticeable difference is confidence in the shift—especially in high-G situations. Whether you’re heel-toeing into a tight hairpin or executing a full-bore 3rd to 4th upshift on a straight, the directness and speed make a noticeable improvement.
On a recent customer build—a MK6 GTI running a CAE short shifter—we saw not only faster shift times but also fewer mis-shifts during hot laps. That’s not just placebo: reducing throw and lateral play means the gear lever almost guides itself into gear, with less room for error when your focus is on apexes, not ratios.
Is It Worth It?
If you value driver feedback, a short shifter is one of the best pound-for-pound upgrades out there. For under £200 in most cases—and a half-day install—you get a far more tactile connection to the gearbox. If you’re in the habit of tracking your car or pushing hard on spirited drives, it rapidly becomes less of a luxury and more of a necessity.
My advice: Don’t skimp on quality. Go for a unit with a solid build, preferably billet or reinforced steel with replaceable bushings. Avoid the ultra-budget eBay specials that promise similar throw reductions but can flex under aggressive shifts or worse, wear out pivot points prematurely.
Troubleshooting Common Issues
Having installed dozens of short shifters across multiple platforms, a few repeated issues always come up:
- Stiff Shifting: Often caused by over-tightened pivot hardware or dry bushings. Re-grease or loosen by ¼ turn, then retest.
- Inconsistent Engagement: Usually a cable alignment issue—check routing underneath or in engine bay.
- Vibration at High RPM: This can come from metal-on-metal contact of the shifter housing or missing insulation in the boot. Make sure everything’s cushioned and torqued per spec.
- Pop-Out in Gear: Rare, but alarming. Usually due to selector rod misalignment—double-check-angle and position.
Final Words from the Bench
Installing a short shifter isn’t the most glamorous part of tuning—but it’s one of the few mods where you interact with the result every second you’re driving. There’s nothing like the “click-clack” satisfaction of nailing a shift with surgical precision. Your hands know instantly—that’s no longer a standard gearbox linkage, that’s performance-engineered hardware responding to your input.
If you’re ready to go deeper, consider pairing your shifter install with poly shifter bushings or even a short-shift adapter plate. And if you’ve already done the mod? Drop your feedback below. Which platform are you running, and what difference did it make to your drive?
As always, if you’re stuck mid-install, drop a comment or shoot me a message—I’ve likely wrestled with the same circlip you’re cursing at right now.